How do I build pedalboards?
How do I build pedalboards?
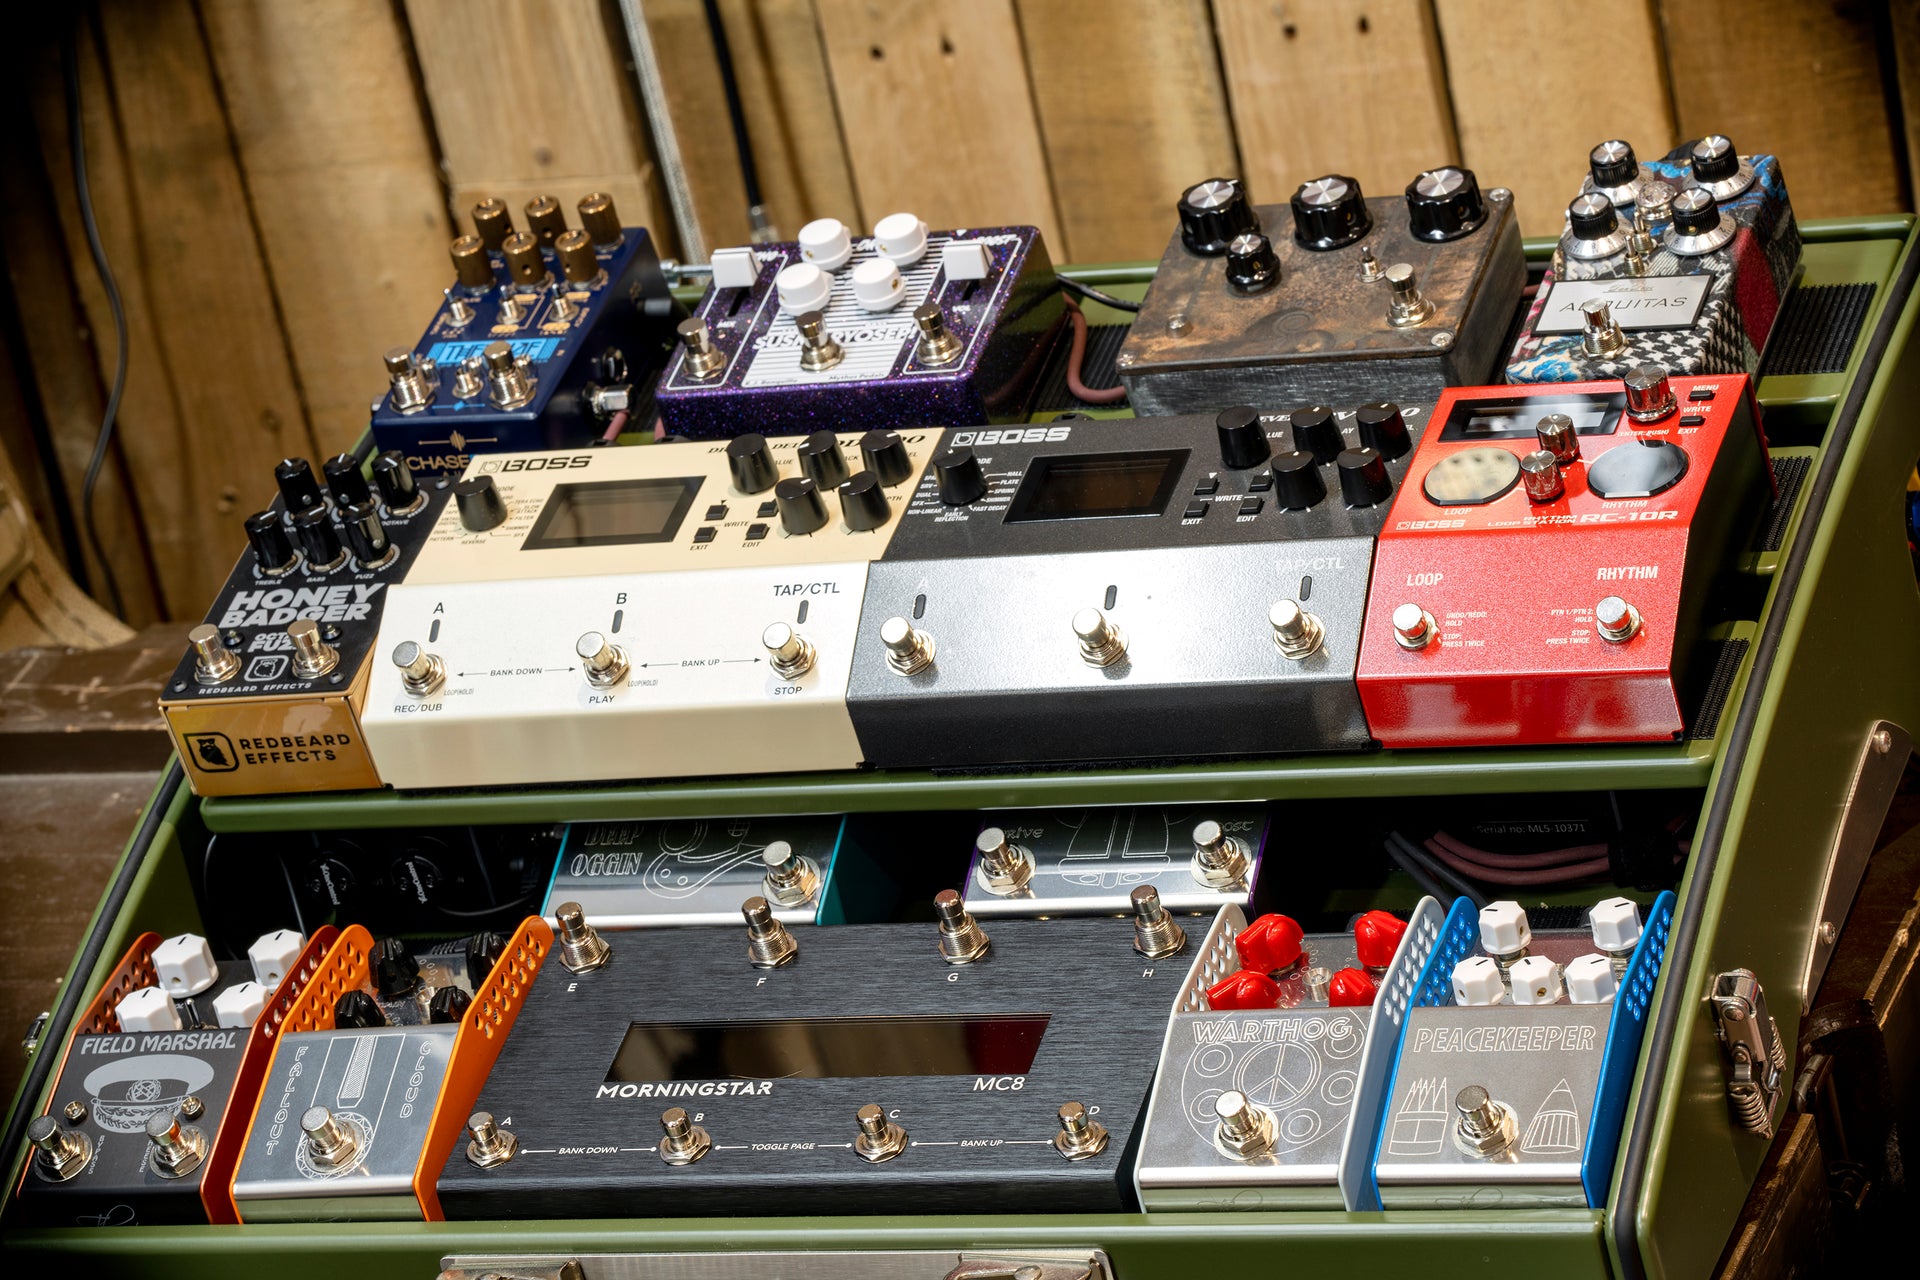
I’ve spent the last few weeks building some pedalboards in my spare time, one for a customer of ours, and being in “the zone” aka being a glutton for punishment I decided to build two more pedalboards for my work “studio”.
Although all pedalboards followed differing design briefs, I built them following my tried and tested methodology. This isn’t magic, it’s much more mundane than that, its focussed primarily on planning and then implementing the plan.
Step 1- Preparation
Whatever you do, if you are planning to implement more than one pedal, start from scratch. This may seem laborious, but it ensures the board you have is designed to work as best as it can in the current iteration. If you don’t, you will end up with a piecemeal pedalboard, like adding layers to a cake after the cake is finished…
So if you are starting from scratch or starting by ripping up your current board, get the board to an empty state. At this point, I line the board with large swathes of Velcro. My personal favourite is Velcro Heavy duty 50mm wide in black. I also go against the grain and use the furry side on the bottom of the pedal and the hook side on the pedalboard. This makes it easy to clean and when the pedals are not on a bord and just loose on the floor they don’t pick up crap from carpets, dogs, and other critters.
Step 2 – Plan
Draw your pedalboard layout focussing on signal path, power plan and routing. You want to use as little patch cable length as possible and so a good plan is key to enabling this. It also allows you to sort out your power plan once you know where the pedals are going to sit.
Step 3 – Situate
To prevent your pedals sticking to the pedalboard you’ve lovingly covered in Velcro, place sheets of A4 paper/newspaper on the board. Then following your pedalboard placement plan, put them physically in place. If your spacial awareness is crap you’ll end up adjusting this to ensure the pedals fit. For me personally, this stage always reveals a weakness I have, sideways pedals are not acceptable on my boards, I see it as a failure to layout the board properly. For normal people, this is fine.
When you are happy with the physical positioning, you will then need to slide the paper out and fix the pedals down.
Step 4 – Power
Whether you are going for a modular system like the gigrig solution or for a fixed supply like the Strymon Ojai or voodoo lab stuff, the key thing is to ensure you have the following:
- Enough outlets, either through giving every pedal a separate outlet or by daisy chaining some outlets.
- Ensure you have the right voltages, polarity and current (mA) available for the pedals you want to use.
Assuming the above is correct, you can start laying out your power cables. As a rule of thumb, I keep modulation and time-based (delay, reverb etc) effects on isolated outputs. This tends to eliminate cross talk, interference, noise etc. If they shared a daisy chained power outlet with a dirt pedal you can often have a higher propensity of ticking, noise and weird artefacts.
Step 5 – Patch cables
I personally use the Evidence Audio SIS kits because I find the flexibility, quality and ease of making the cables superior to most systems I have tried. I also use them because of their size, this is for a number of reasons, firstly I tend to use midi looper or switching units such as the Gigrig QMX and G2 systems, we also use the Morningstar system of the MC8 or MC6 with the ML5 looper. Any of these systems have banks of input and output jacks spaced really close together. Because of this you have no choice but to use compact patch cables. All cables I make are made to length for the position the pedal sits in (with a small amount of extra length for fudge factor) and I test them all on a multi meter before fitting them. This last step is CRUCIAL to save your sanity as on a 10 pedal looper based board you are likely to have a minimum of 20 patch cables.
Step 6 – Midi cables.
Make sure they work, make sure they are orientated “in to out” and connect them up from the input to the output as the midi signal flows.
Step 7 – Midi programming and testing
If you are running midi pedals, you will find that you need to programme your board to work as intended. Once this step is done (or if you don’t need this step) then all is left to do is test. Assuming all is well, great your pedalboard is done!! If you find something isn’t working, then start problem solving in a methodical manner. However, 9 times out of 10, in my experience a lot of issues with individual pedals come down to the in and out jacks being connected the wrong way around. We all get tired.
Step 8 - Contingency
Finally, before we sign off here, I know that you will lie to yourself and tell yourself that "this time my pedalboard is finished" we've all done it, but instead of that plan for the inevitable.... sometimes you are curious about a pedal, its the new thing on the block and you want to try it. In that case remember to leave an easily accessible slot for pedal auditioning. This way, you can try the pedal with your board and not have to rip everything up.....
That is a VERY brief rundown on my pedalboard building methodology, I purposefully have stayed away from pedal order as that requires another Blog post entirely.

